Learn to make colorful salt crystals with easy steps, exploring science while enjoying a hands-on activity.
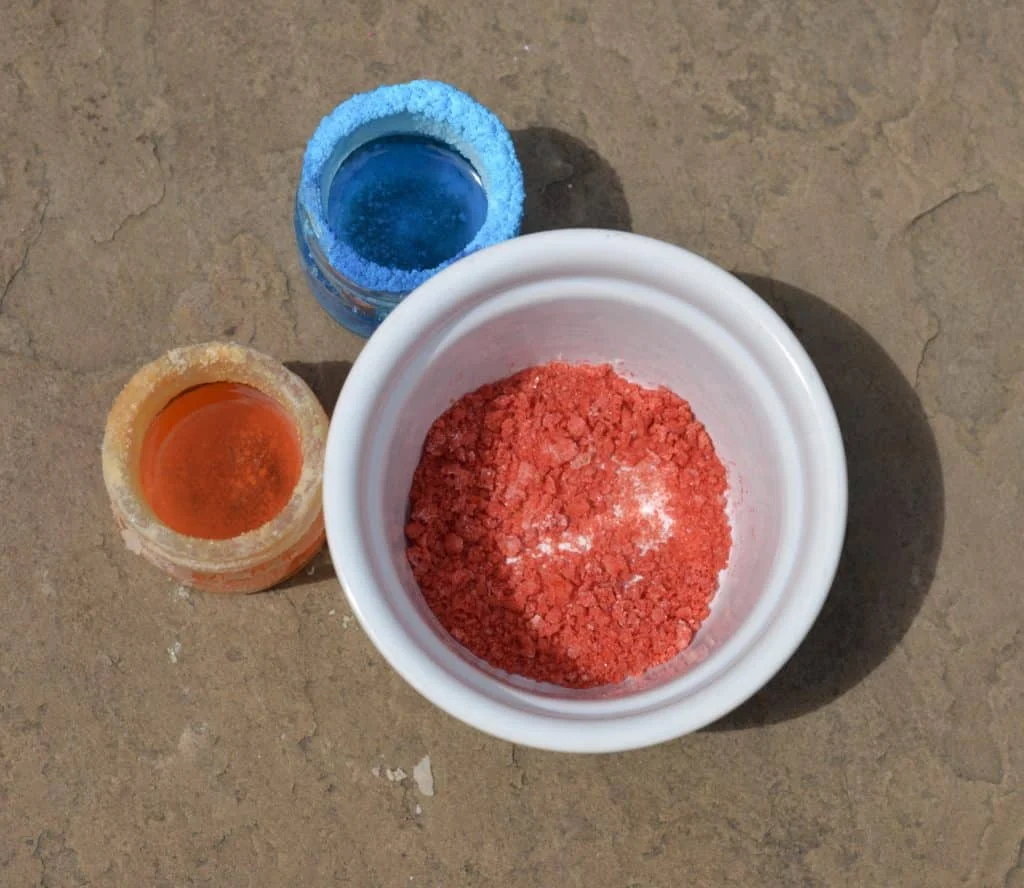
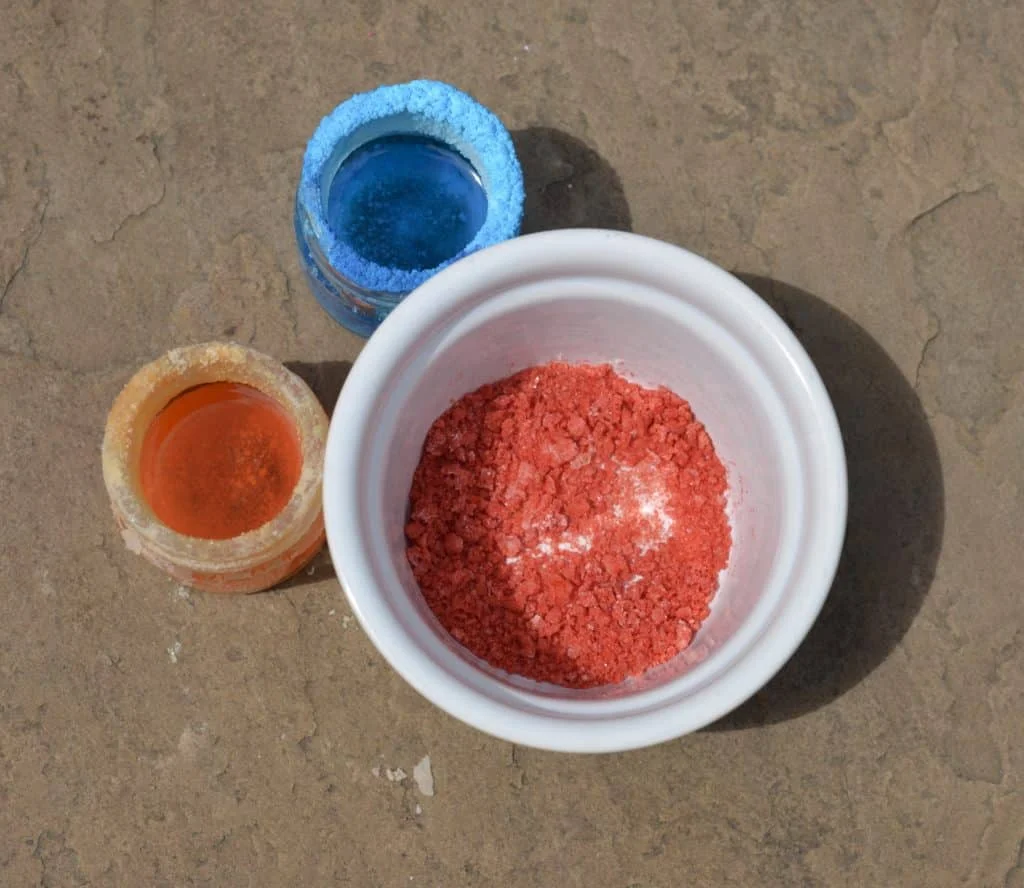
Crafting salt crystals can be a delightful experiment. By dissolving table salt in warm water and allowing the solution to evaporate in a warm spot, you can create beautiful, sparkling crystals.
Add a twist by mixing in a bit of food coloring. This transforms ordinary salt into colorful designs, making the process visually appealing.
For more engaging experiments, check out a salt science activity sheet developed by the Primary Science Teaching Trust.
You’ll Need
- Table Salt
- 500ml warm water
- Bowl or jug
- Spoon
- Plate or shallow bowl
- Food coloring – optional
Making Salt Crystals
Start by placing 500ml of warm water in your container. Introduce a generous spoonful of salt and stir until it completely dissolves. Keep adding salt bit by bit until no more will dissolve; you’ve created a saturated solution.
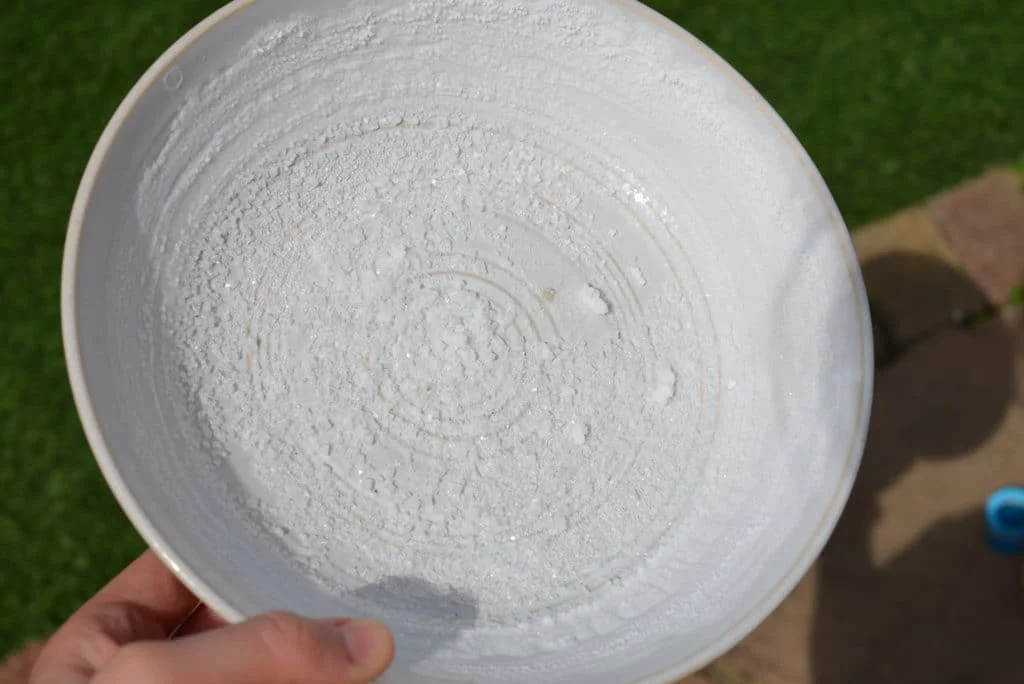
Take a small quantity of this mixture and pour it onto a flat plate or shallow bowl, then set it in a warm location, such as a sunny windowsill. After a few days, you should witness crystals taking shape.
Creating Colored Salt Crystals
Follow the same process but enrich the saturated salt solution with a few drops of food coloring before pouring it out to dry. This simple addition not only makes the crystals visually striking but serves as a hands-on lesson in how solutes can affect the appearance of a solution.
The Science of Salt Crystals
When salt dissolves in warm water, it creates a clear solution. The salt doesn’t vanish; rather, it has integrated with the water. This is a fundamental principle of chemistry: when a solute dissolves, its particles disperse among the solvent particles.
Once the solution is left in warmth, the water evaporates, ultimately revealing the crystal formations. Evaporation is a process driven by heat energy, as particles in the liquid phase gain energy and transition to the gas phase. While this might seem simple, it’s an excellent entry point for discussions about the states of matter and how temperature affects them.
Extension Activities
Experiment with evaporation rates by contrasting the same volume of water in a tall container against a shallow bowl—typically, the shallow bowl will see quicker evaporation. This is largely due to the increased surface area exposed to air. When discussing evaporation, most people overlook the role of surface area, which greatly influences the rate at which water turns into vapor.
More Science for Children
Use salt to cool a drink in mere moments! Salt can be combined with ice to create a temperature drop that's quick and effective. This happens because salt lowers the freezing point of water, which is why it’s often used in ice cream making processes.
Make ice cream using salt’s cooling properties as well. Third graders might find that especially rewarding since they can enjoy the tasty treat after the experiment.
Explore even more easy kitchen science ideas to try! There’s a wealth of science hidden in the kitchen, waiting to be discovered.
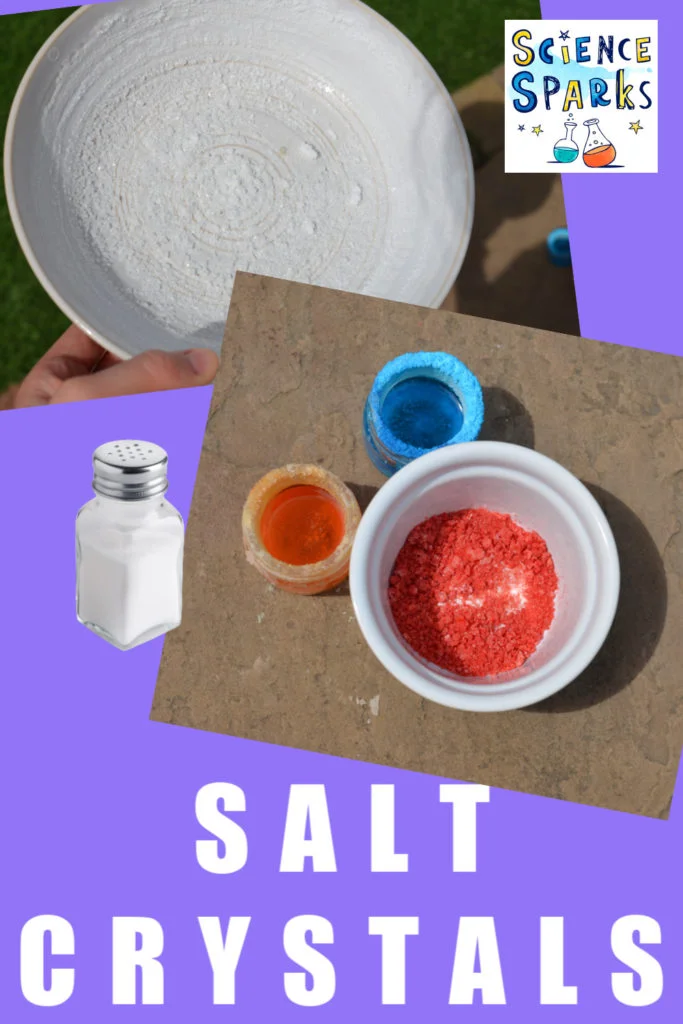
Discover more about making salt crystals at Science Experiments for Kids.
Implications and Future Outlook
The activities discussed here offer more than just a pastime; they serve as foundational lessons in science. As educational methods evolve, engaging children with practical applications of scientific principles becomes essential. Salt crystallization isn’t just about creating visually pleasing results; it introduces young minds to concepts they’ll encounter in higher studies. If you're working in this space, you'll recognize the value of hands-on experiments that foster curiosity and critical thinking. This method of teaching can pave the way for innovations in STEM education, encouraging kids to explore and analyze their environments.
Discussion
Sign in to join the discussion.